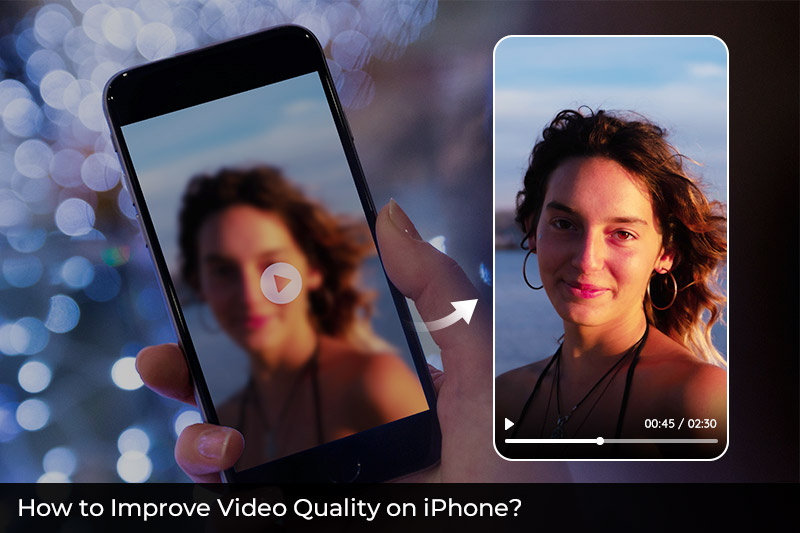
3 Ways to Improve Video Quality on iPhone
With the ubiquity of smartphones and tablets, creating videos has become easier than ever before. In recent years, the camera capabilities of the iPhone have significantly improved, making it a popular choice for capturing videos. However, sometimes the video quality may not meet your expectations due to various factors like wrong settings, low lighting, or shaky footage. Luckily, there are several ways to improve video quality on an iPhone. This article provides a comprehensive guide on how to improve video quality on iPhone. It covers everything from adjusting pre-recording settings and using apps that can boost the video quality, to an easier way to improve it with AVCLabs Video Enhancer AI.
Method 1: Improve Video Quality by Changing the Camera’s Video Recording Settings on iPhone
By default, iPhone records video in HDR, at 30 frames per second (fps) and the Enhanced Stabilization is on. If you need to change to other frame rates and video resolutions, you can use quick toggles to adjust them.
On iPhone XS, iPhone XR, or a more recent version, you can access quick toggles in the top-right corner of your Camera app in the Video mode to switch between HD and 4K recording as well as choosing from 24, 25, 30, or 60 frames per second (fps).
Alternatively, if you have an iPhone X or an earlier version, you can access the quick toggles by going to Settings > Camera > Record Video and turning on Video Format Control. Lastly, if you have a newer iPhone 14 model, Cinematic mode will provide quick toggles that allow you to switch between HD and 4K as well as 24, 25 or 30 fps.
Method 2: Top 3 Apps to Improve Video Quality on iPhone
Another way to improve video quality on iPhone is to use some excellent enhancement apps. This is effective to improve the video quality after recording.
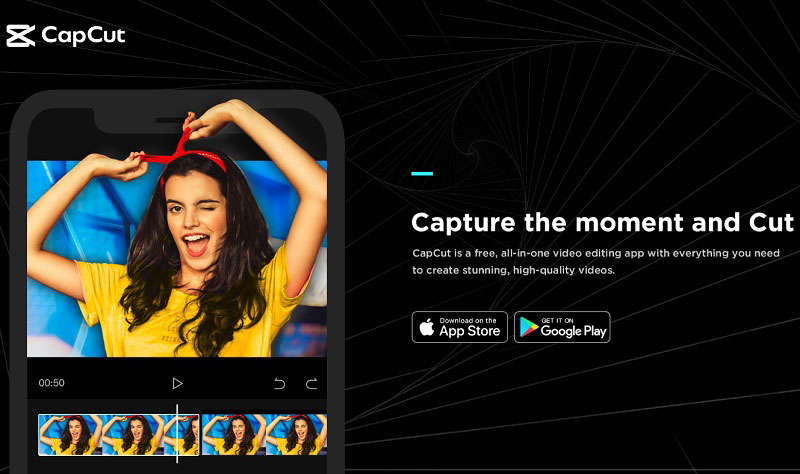
1. CapCut
CapCut is a video editing app developed by ByteDance, the same company behind popular apps such as TikTok. It allows users to edit and customize their videos with a range of features, including filters, effects, music, and transitions, as well as improve the quality of their videos by enhancing color, sharpness, and other visual elements. CapCut also includes advanced editing tools, such as keyframe animations, which enable users to create more complex and dynamic videos. The app has gained popularity among content creators on social media platforms, as it offers a user-friendly interface and a range of creative options to enhance their videos. CapCut is available for both iOS and Android devices and can be downloaded for free from the App Store and Google Play. Check the detailed guide on how to increase video quality on CapCut.
Pros:
- It is available on iOS, Android, Mac, and Windows.
- It offers a wide range of filters, effects, and transitions that can enhance your video and make it more engaging.
- Cost-effective: it is a free application, so you don't have to spend any money on expensive software to improve your video quality.
Cons:
- It is a basic video editing application and may not have all the features and tools that professional video editors require.
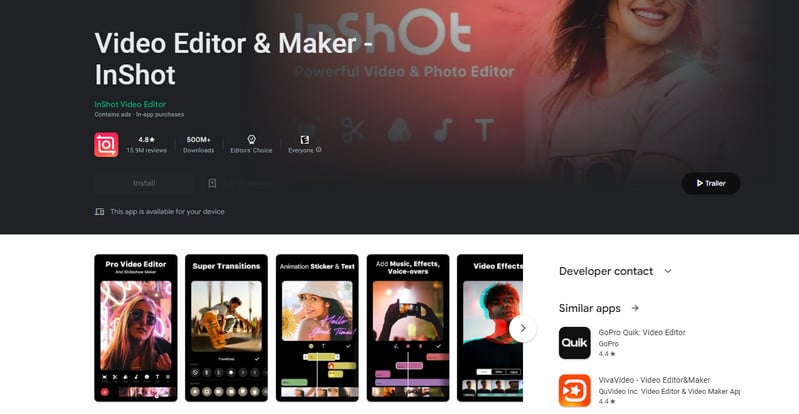
2. InShot
InShot is a popular video enhancer and editor designed for mobile devices. It offers a wide range of editing tools that can be used to increase the quality of videos on iPhone after recording and create professional-looking content. Some of the key features of InShot include the ability to trim and cut video clips, adjust video speed, add music and voiceovers, apply filters and effects, adjust the brightness, contrast, and saturation of the video, add text and stickers, adjust speed and aspect ratio and more.
InShot is particularly popular among social media users who want to create engaging content for platforms like Instagram, TikTok, and YouTube. It is available for both iOS and Android devices and can be downloaded from the App Store or Google Play Store. While the app is free to download and use, some features require a subscription or in-app purchase to unlock.
Pros:
- User-friendly interface.
- It is not only a video editor, but you can also edit your photos with InShot.
- You can export your videos in multiple formats, including MP4, MOV, and GIF, making it easy to share your content on various platforms.
Cons:
- There are ads and watermarks in the free version.
- It has a limited selection of transition options, which can make it difficult to create more complex video sequences.
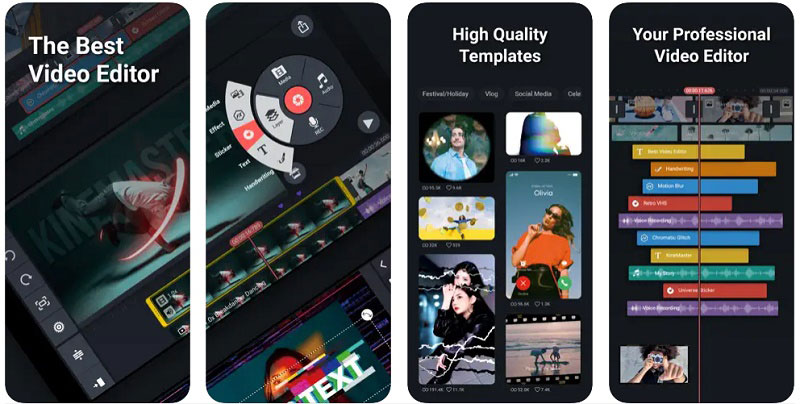
3. KineMaster
KineMaster is an app that can increase video quality both on iPhone and Android. The features and tools of this app include multi-layer video editing, audio editing, chroma key, speed control, transitions, and more. With KineMaster, users can import videos, images, and audio files from their device's gallery or capture new footage directly from the app. It offers various subscription options, including a free version with limited features and a premium version with access to all features. The premium version of KineMaster includes unlimited video exports in resolutions up to 4K, removes the watermark from exported videos, and provides access to premium video effects, transitions, and more.
Pros:
- Unbeatable speed of handling, really intuitive, and easy to use.
- It enables users to add multiple layers and special effects to their videos, giving them greater control over the content.
Cons:
- No templates to create social content.
- It has limitations on the number of features available, such as exporting videos in higher resolutions and removing the KineMaster watermark.
- It can be resource-intensive, which may cause issues on some older or low-end mobile devices, leading to lag and performance issues.
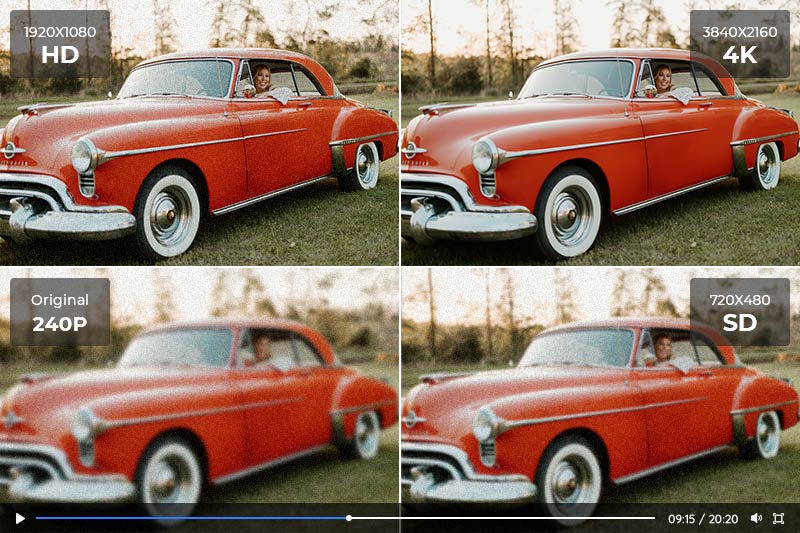
Method 3: Improve iPhone Video Quality on Mac or PC via AVCLabs Video Enhancer AI
Due to the limitation of screen size, it is not so inconvenient to enhance the video quality on iPhone. For people who don't know much about video editing, the setting of various parameters is also confusing. AVCLabs Video Enhancer AI is a desktop software that is designed to increase video quality with just a few clicks. You can not only increase the video resolution from SD to HD or 4K, 8k easily and colorize your video, remove the noise from the video, but also adjust video colors as you wish.
Key Features of AVCLabs Video Enhancer AI
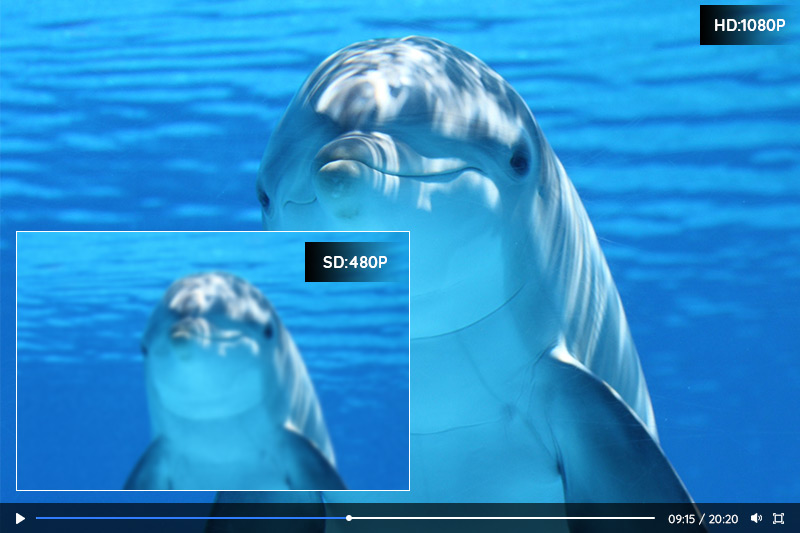
- Upscale low-res videos to 1080p, 4K, and 8K
- Remove video noise and restore facial details
- Colorize B&W videos to bring them to life
- Blur all unwanted parts to protect privacy
- Stabilize footage by removing camera shake
Note: Before improving video quality with AVCLabs Video Enhancer AI, it is important to make sure that your computer configuration meets all system and hardware requirements for an optimal viewing and processing experience.
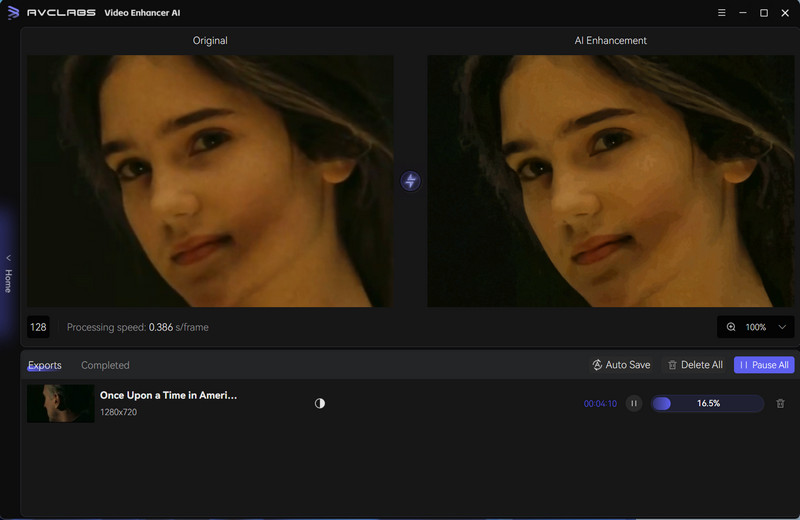
Step 1: Import the Downloaded Low-Quality Film
Download and install AVCLabs Video Enhancer AI. Launch it and click the Browse button or drag and drop to import your iPhone videos.
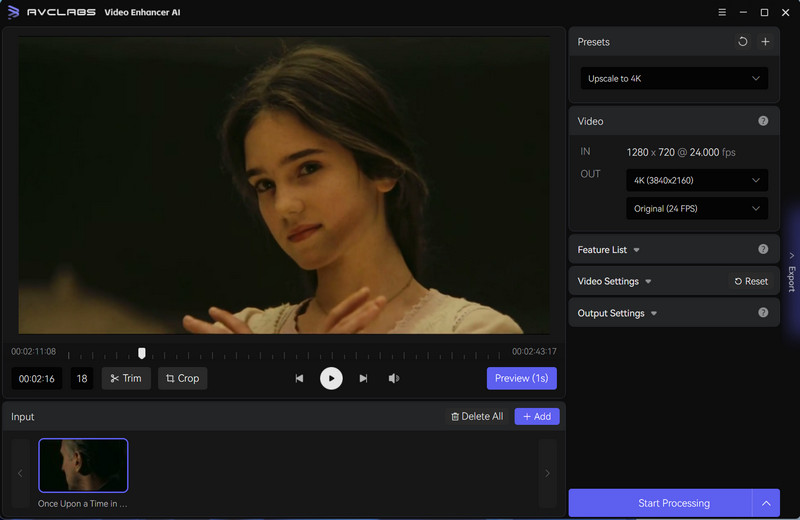
Step 2: Select the AI Model and Set the Output Resolution
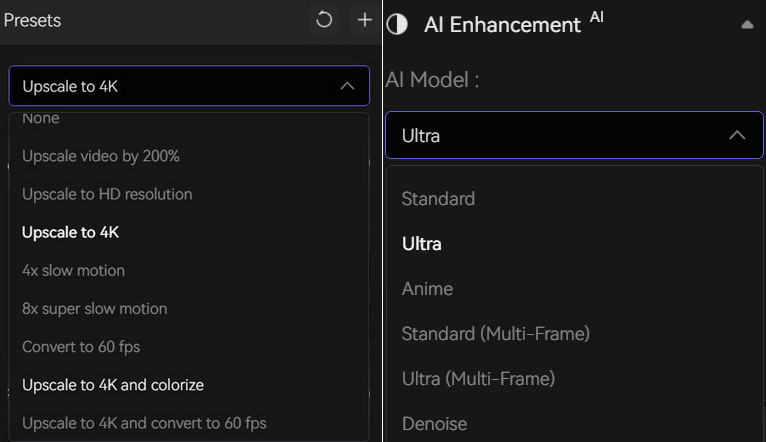
There are three types of AI models in the Feature List collection: AI Upscaler, Denoise, and AI Colorizer. To increase the video quality, you need to check AI Upscaler.
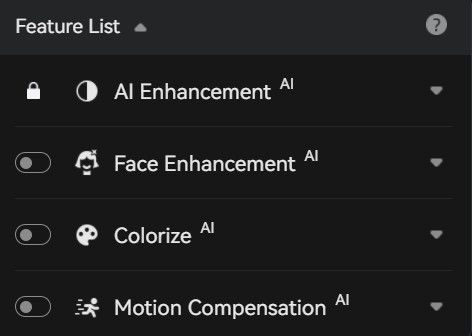
1. Model Settings: After selecting an AI feature, you can click the button to change the upscale model. The Face Refinement option allows you to sharpen and fix facial details from blurry videos.
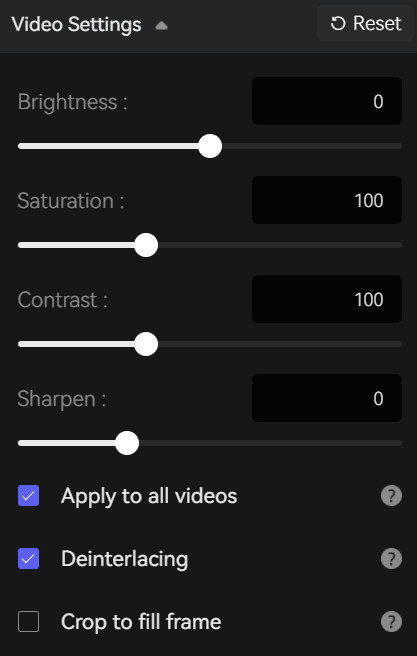
2. Video Settings: this part allows users to adjust the brightness, saturation, and contrast of the video and preview the effect in real time. Additionally, if there are multiple videos, you can apply the adjustment to all videos, which can save so much time.
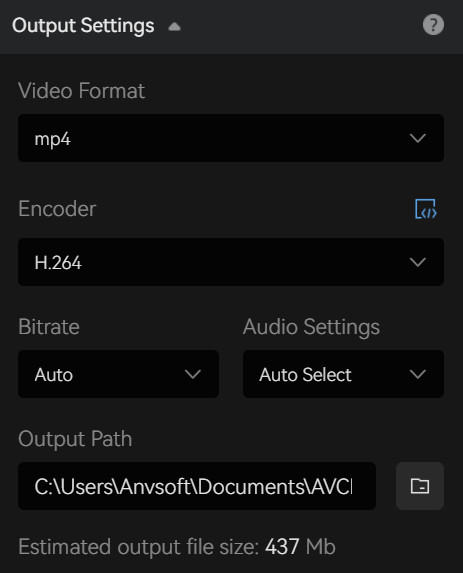
3. Output Settings: In this section, you can set the output size with a total of 14 options, from SD to HD, 4K, and 8K. Then is the output video format, including MP4(H.264), MP4(H.265), MKV(H.264), MKV(H.265), AVI (Uncompressed), and MOV(ProRes 422HQ), and finally set the output path, which is convenient to quickly locate the processed video afterward.
Step 3: Start Improving Video Quality
Once the settings are complete, click the Play button to review 30 frames to make sure the processed video is what you want, otherwise please reconfigure settings. Finally, click the Start Processing button to start improving the video quality.
FAQs about Improving Video Quality on iPhone
1. Can you fix a blurry video on iPhone?
Yes, you can fix a blurry video on iPhone by using video editing apps like CapCut. These programs allow you to stabilize and sharpen video footage, which can improve its clarity. Alternatively, a much easier way is to use some AI-based video enhancers like AVCLabs Video Enhancer AI . You can also try tapping the screen while recording to focus the camera on your subject, or using a tripod or stabilizer to keep the camera steady during filming.
2. How do I get 4K video quality on my iPhone?
To capture 4K video on your iPhone, you need to have an iPhone model that supports 4K recording, such as an iPhone 6s or later. Go to your iPhone's settings and select "Camera," then choose "Record Video." From there, you can select the resolution you want to record in, including 4K at 60 frames per second (fps) or 4K at 30fps. It's worth noting that shooting in 4K can take up a lot of storage space on your device, so make sure you have enough available before filming. Another way to get 4k video quality is to upscale your low-res videos to 4K with AVCLabs Video Enhancer AI.
3. What are the best video settings for iPhone?
The best video settings for iPhone will depend on your specific needs and preferences, as well as the situation in which you are filming. For general purposes, you can use the default settings for your iPhone's camera, which will typically provide good-quality video. If you want to adjust the settings, you can try experimenting with different resolutions, frame rates, and exposure levels to find what works best for your specific situation.
4. Why is iPhone video quality poor?
There could be several reasons why your iPhone's video quality is poor. One common issue is low lighting conditions, which can result in grainy or blurry footage. Another factor could be camera shake or movement, which can cause the video to appear shaky or out of focus. In some cases, the issue could be related to the quality of the lens or sensor on your iPhone's camera. To improve video quality, try filming in well-lit areas, using a tripod or stabilizer to steady the camera, or upgrading to a newer iPhone model with a better camera.
5. Should I turn off HDR on iPhone?
Whether you should turn off HDR (High Dynamic Range) on your iPhone will depend on your personal preferences and the situation in which you are filming. HDR can help improve the dynamic range and color accuracy of your photos and videos, particularly in high-contrast scenes. However, some users may find that HDR can make their footage appear overly saturated or unnatural. If you're not sure whether to use HDR, try experimenting with it in different lighting conditions and see how you like the results. You can always turn it off if you don't like the effect.
Conclusion
Improving video quality on your iPhone is possible if you know the settings and tools available to you. The settings you can change on your camera, such as the white balance, focus, resolution, and frame rate, can make a big difference in the overall quality of your videos. Additionally, there are apps you may use to help boost the colors, brightness levels, and more of your iPhone videos. AVCLabs Video Enhancer AI offers a bonus way to improve video quality using Artificial Intelligence. With just a few simple clicks, it can make dark or noisy videos clear and vivid instantly with no manual effort required. Give it a try today and see what kind of incredible improvement it could bring to your video recordings.