Welcome to AVCLabs Photo Enhancer AI User Guide
AVCLabs Photo Enhancer AI is a powerful AI-based photo editing software that integrates image enhancement, noise reduction, background removal, and more. Designed to improve photo quality with minimal effort, it helps you restore details, sharpen faces, and achieve high-resolution results with ease.
Start Photo Enhance Project
1. Download and install
Download and run the installation package of AVCLabs Photo Enhancer AI. After installation, the program will download some necessary components according to your system.
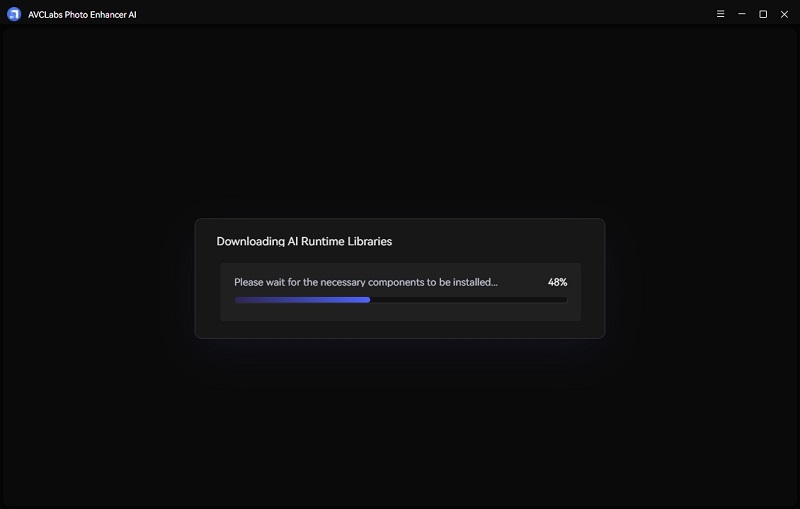
*Note: After the initial installation, the program may take a few minutes to download necessary AI models and components based on your system specifications. Make sure your internet connection is stable.
2. Add photos
You can click the Browse button to import photos or drag and drop them to the program directly. Batch processing is supported, so you can add multiple files.
Supported input formats: JPG, JPEG, PNG, BMP,JFIF, WEBP
Batch processing: You can import multiple photos at once to enhance them together. This is useful when working with large collections or albums.

*Note: Once photos are imported, they will appear in the processing window. From there, you can still add more photos or remove existing ones before starting the enhancement process.
3. Select and customize AI features
After importing your photos, it's time to choose the AI features that best suit your enhancement goals.
From the Feature List, you can select one AI models or combine them and create your workflow. Each model is designed for a specific type of image enhancement.
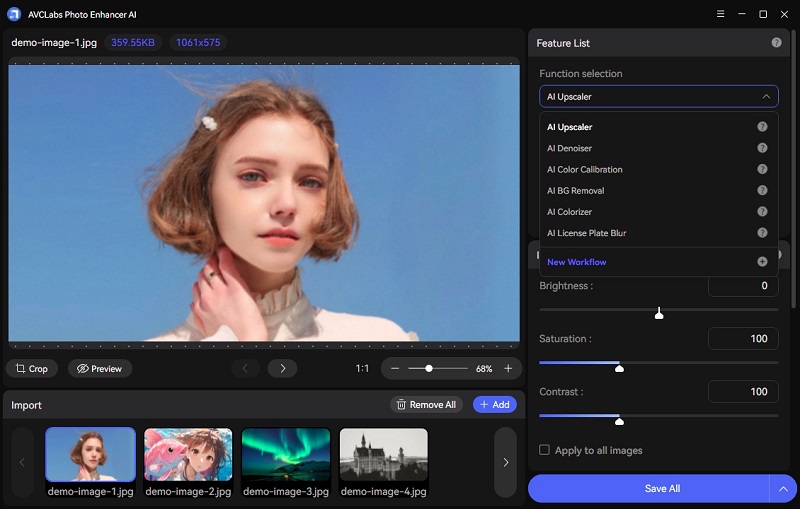
🧠 Available AI Features
AI Upscaler: Enhance low-resolution images into ultra high definition while recovering fine details for optimal quality. You can choose between two models: Standard and Ultra.
AI Denoiser: Remove noise and grain from the image in one single click. Make your image look sharper.
AI Color Calibration: Improve color and contrast with only one click. Make your image look more beautiful.
AI BG Removal: Remove background from image accurately to create a transparent background. You can set the background to transparent, green, white, black, or a custom image. Additionally, you can choose how the image fills the background area: fit, crop, or resize.
AI Colorizer: Colorize old black and white photos.Add natural and real color to your old photos. You can select between two colorize models: bright/soft and adjust the Render Factor to change the colorizing effect till you find the most suitable color.
AI License Plate Blur: Detect and blur license plates in videos using Al, safeguarding your privacy. You can choose blur type or upload your own image, adjust blur strength/blur size/blur edge feathering.
💡 Create Workflow: You can combine multiple AI features for a single image to achieve better results. Simply select New Workflow in the end of the feature list and check the boxes next to the AI features you want to include. Don't forget to give your workflow a meaningful name. You can apply this workflow to a single image or an entire batch for consistent results.

*Note: The more features you select, the more processing power and time it will require. Please ensure your computer meets the recommended system requirements for best performance when using complex workflows.
4. Adjust image settings and output settings
After selecting AI features, you can optionally fine-tune your image settings and customize the output preferences to match your needs.

# Image Settings
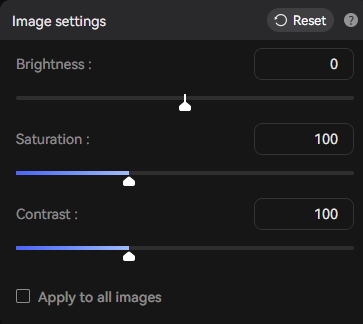
Brightness: Adjust the overall lightness or darkness of the image.
Saturation: Increase the difference between light and dark areas to make the image pop.
Contrast: Control the intensity of colors; higher saturation makes colors more vivid.
You can toggle "Apply to all images" to ensure the same settings are consistently applied to every image in the batch.
# Output Settings
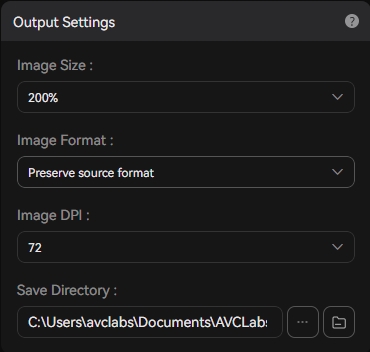
Image Size: You can choose to upscale your images by 200%, 300%, 400% in AI upscaler model, or keep the original size as 100% by selecting different scale factors. Please note that the higher the scale factor, the higher configuration and the more processing time required.
Image Format: Choose a format for saving or preserve source format.Supported output formats: JPG,JPEG, PNG, BMP
Image DPI: This defines the resolution of the image in dots per inch (DPI). A higher DPI is recommended if you plan to print the image, as it results in better print quality.
Save Directory: Pick where you’d like to save your edited image on your computer.
🔧 Looking for more customization? Check out the Settings section for global preferences and advanced options to fine-tune your enhancement workflow.
5. Crop and Preview
Click the buttons in the bottom-left corner of the photo to use the cropping tool to select the area you want to keep or preview the Before & After results to see the effect of the applied AI features in real time.

You can use the slider or split-screen view in the preview window to compare the original and enhanced versions more easily.
6. Save your photos
Once satisfied with the preview, click Save All button to begin the batch enhancement process or Save Current to enhance the current photo. All you need to do is wait for the AVCLabs Photo Enhancer AI to process the images automatically.
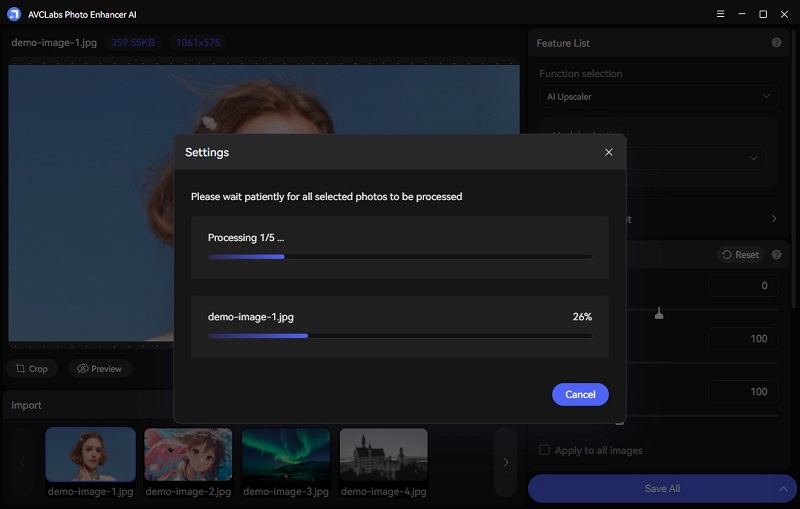
Once completed, your enhanced images will be saved to the save directory you selected earlier.
Hardware and system requirements
System Requirements
Supported OS: Windows 11, 10(64bit) mac0s 12 and above
Processor: Intel/AMD processor
RAM: 16GB or higher
Free Space: More than 20GB
Hardware requirements
Minimum: Intel CPU from 2015 onwards (4th generation) or AMD CPU from 2016 onwards
Recommended:Intel i7 (7th generation) or greater (4GHz and above) or Ryzen 7 or greater (4GHz and above)
Graphics Cards
After Windows 10 ver. 1903: (4th-gen core) HD Integrated Graphics or above; GTX 600 series or above
Recommended: NVIDIA GTX 1050 Ti or higher Radeon HD 7000 series or above
Settings
General Settings
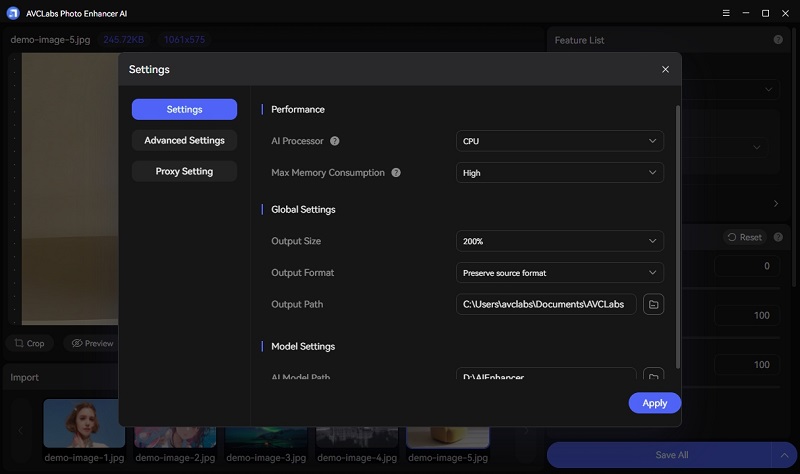
You can click the  to open the Settings window.
AI Processor: Select the CPU or GPU to process photos. If your computer has a dedicated GPU, do not hesitate to select it as your AI processor for faster speed.
Max Memory Consumption: Set this to the highest or high when the program is not being used with other source-intensive programs (Photoshop, After Effects, or Adobe Premiere Pro). When set to highest or high, the application will maximize your computer's RAM and GPU memory.
Output Size: Choose the format you want to save the output file.
Output Format: Choose the format you want to save the output file.
Output Path: Set the location where your output file is saved.
AI Model Path: Set the location where your AI Model file is saved.
Advanced Settings
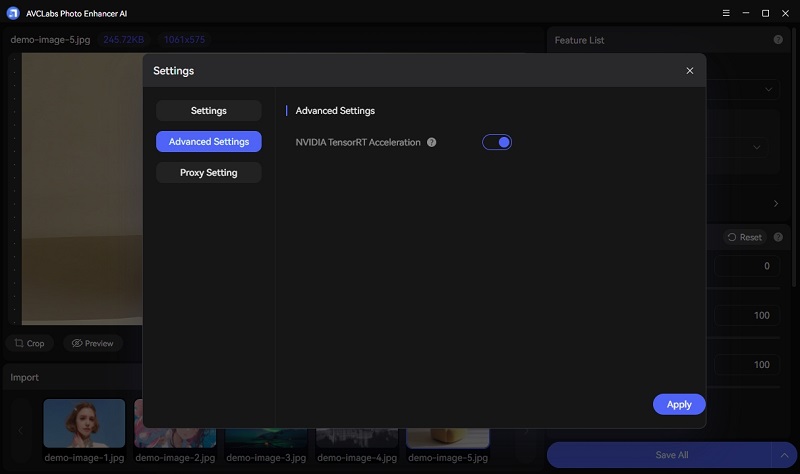
NVIDIA TensorRT Acceleration: GPUs can enable TensorRT acceleration to Dedicated TensorRT models for NVIDIA significantly speed up video processing.