How to Convert Low-resolution Image to High Resolution
We all know that low-resolution images look less sharp and good quality than high-resolution ones because they show fewer details and information. This happens when you take photos using some old devices or download compressed images from other platforms like Facebook and some websites. So in order to get a better view of these images, you need to convert low-resolution images to high ones, and this article will share with you the method to accomplish it.
Part 1: What is Image Resolution
Image resolution usually refers to the number of pixels contains in an image. The higher the resolution means the more pixels, that is, the image contains more details. So high resolution always leads to sharper images while low resolution will cause images pixelated.
Image resolution is stated as horizontal x vertical measurement. For example, an image’s resolution is 6000 x 8000 which means it contains 6000 pixels in width and 8000 in height. The second way to measure resolution is megapixels, you can multiply the two figures together to get it. For example, 6000 x 8000 equals 48,000,000 which is 48 megapixels (MP).
Part 2: Why Choose High Resolution?
High-resolution images can display all details on a high-resolution monitor. You may have noticed that high-resolution monitors had become the main trend in the market like 4K (horizontal resolutions of around 4,000 pixels) or even 8K TV screens. People tend to pursue extreme clarity when watching videos or seeing images. So low-resolution images will look blurry or pixelated when you display them on your TV screen.
The resolution also relates to the quality directly when taking photos. That’s why photographers prefer high-resolution cameras — higher resolution when capturing the photo, the photo will have higher quality.
Lastly, you can crop high-resolution images easily without losing quality. Because there are enough pixels/information to make the image look “the same sharp” when zooming in.
Part 3: What Techniques can Increase Image Resolution?
1. Traditional Methods: Interpolation is the most common approach for image upscaling. It involves estimating the missing pixel values based on the surrounding ones.
2. Deep Learning-based Approaches: These advanced techniques leverage artificial intelligence, specifically Convolutional Neural Networks (CNNs) and Generative Adversarial Networks (GANs).
Part 4: How to Convert Low-resolution Images to High with AI?
AVCLabs PhotoPro AI is an excellent AI upscale tool for converting low-resolution images to high resolution. It employs advanced deep learning algorithms like CNNs to preserve image quality while increasing resolution. With customizable settings and GPU acceleration, users can upscale images efficiently. The user-friendly interface, real-time previews, and continuous updates ensure a seamless experience. AVCLabs PhotoPro AI produces natural and realistic results, making it a top choice for image editors alike.
Key Features of AVCLabs PhotoPro AI
- Upscale the image resolution without losing quality
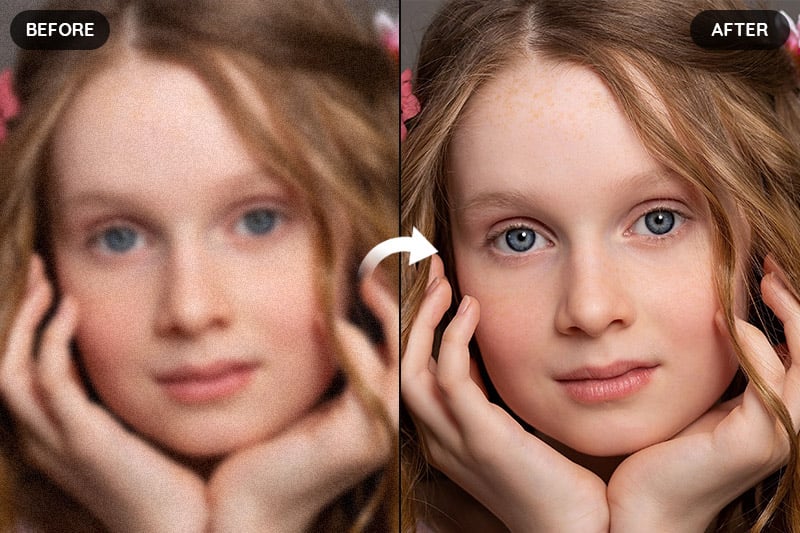
- Make the blurred photos to high-definition
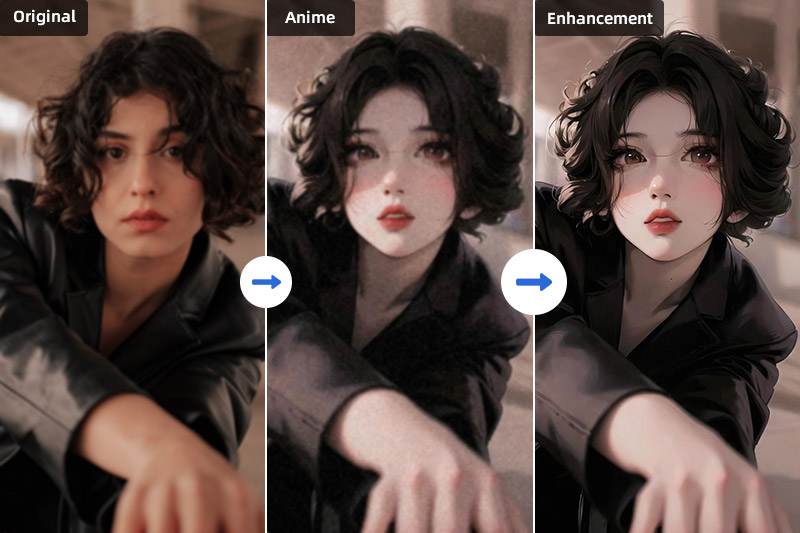
- Immediately improve your portrait photography
- Quickly colorize the old black&white images
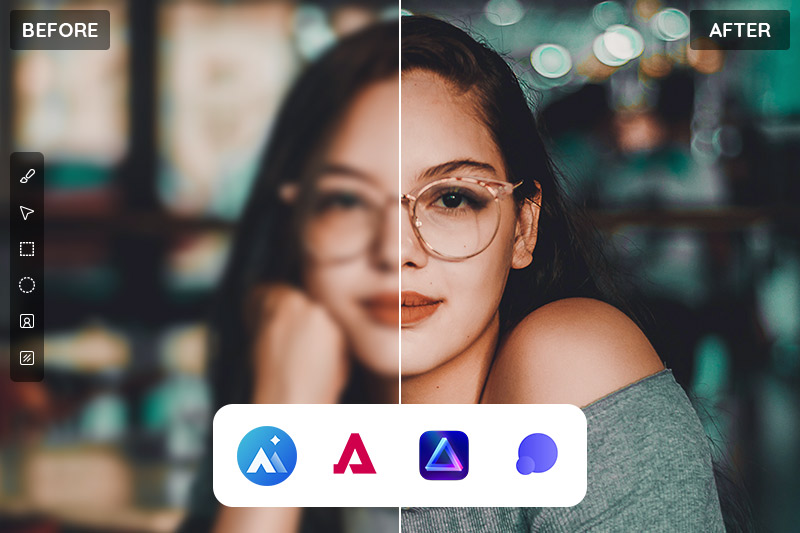
- Automatically enhance photo color, contrast, and quality
Steps to Upscale Images Resolution with AVCLabs PhotoPro AI:
Step 1: Download and Install AVCLabs PhotoPro AI
Download and install AVCLabs PhotoPro AI on your computer, then open it.

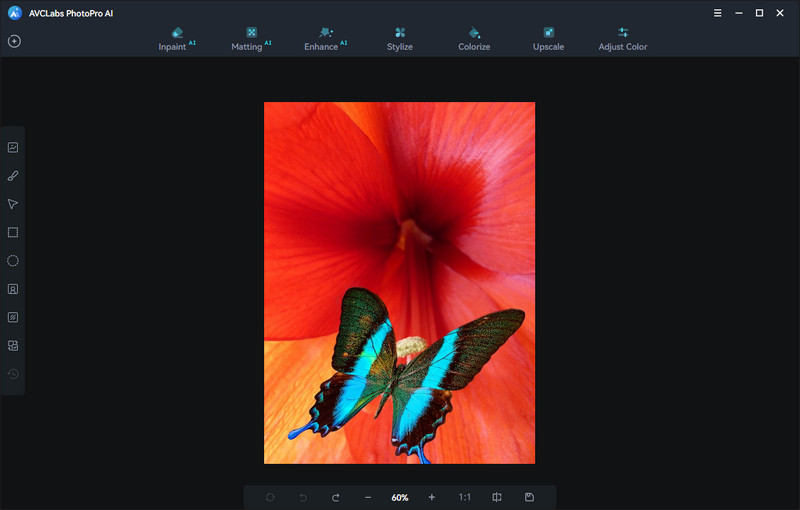
Step 2: Open the Program and Import Low-Resolution Photo
After launching the program and then click on the Browse button to import low-res image or drag and drop the image to the program directly.
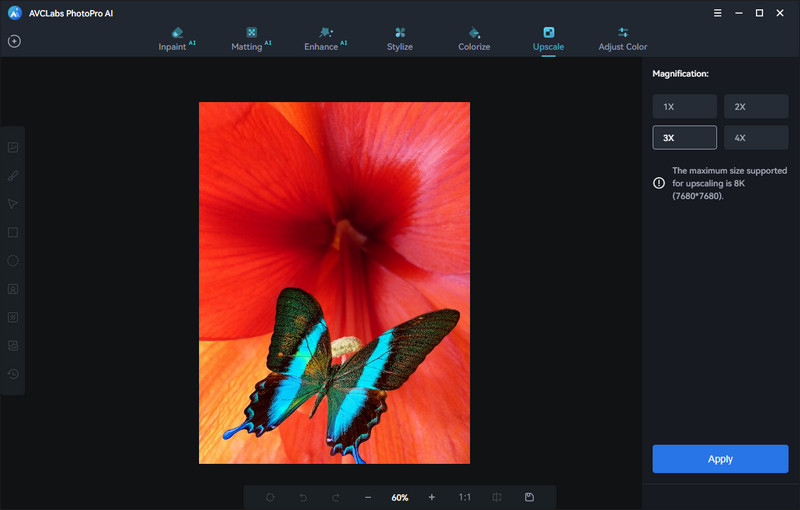
Step 3: Upscale Image Resolution
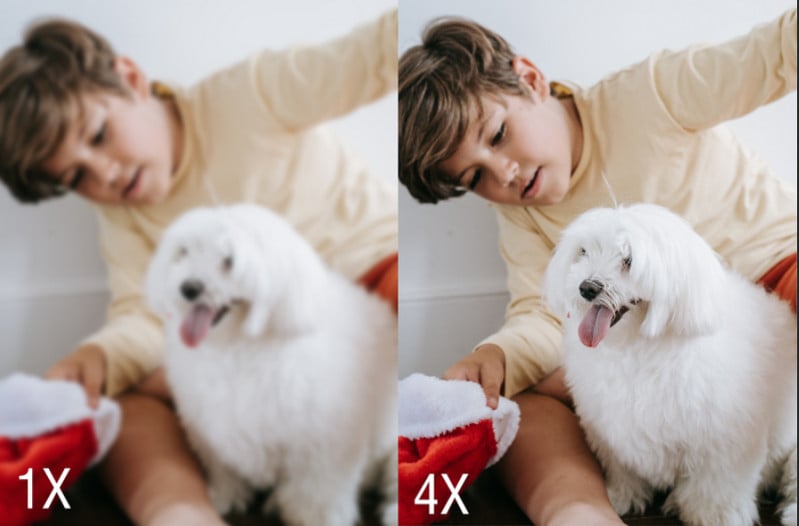
To imporve the resolution of the photo, here we need to choose "Upscale" and go to the "Magnification" option. In this option, you can choose 1X, 2X, 3X and 4X. If you want to convert the low-resolution to extreme high, then you can choose the largest one 4X.
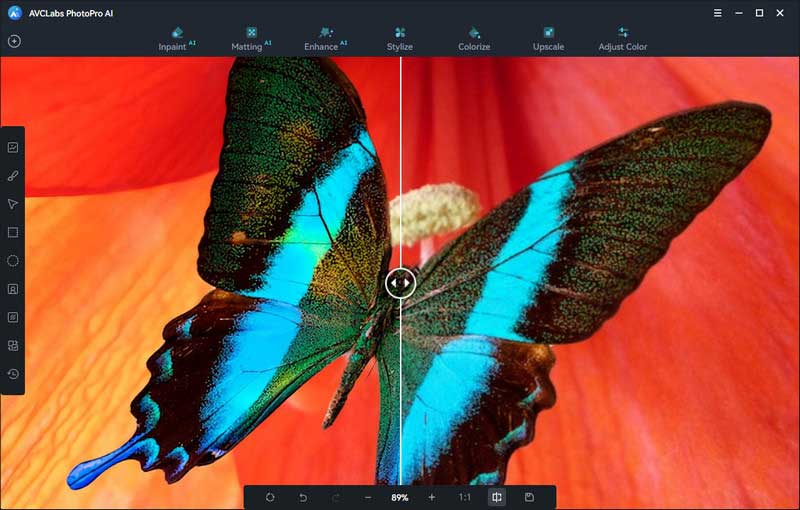
Step 4: Preview and Save High Resolution Photo
When the process is complete, just slide the vertical bar left and right to see the contrast effect before and after upscale. If you are satisfied with the effect, just click Save and the high resolution image will automatically saved to your folder.
Conclusion
In most cases, high-resolution images will have better quality and can display more details than low-resolution ones. That’s why people prefer high-resolution images. Now the low-resolution images can also be converted to high ones using the powerful AI product —AVCLabs PhotoPro AI. Now you can download it and have a free trial to give your low-resolution images a brand new look!