Top 5 Video Editors for Mastering Masking in 2025
The realm of video editing has long fostered creativity in transforming raw footage into stunning and engaging videos. However, video editing is more than just cutting, trimming or merging clips. It also involves applying various effects and techniques to enhance video quality and style. One such technique is masking, which allows you to control the visibility of different parts of your video. Masks help you create stunning effects such as blurring, hiding, or showing parts of your video to make your videos more attractive and professional. In this article, we'll introduce you to the concept and process of masking in video editing and showcase the top 5 video editing software equipped with valuable masking tools.
Part 1: What Is Masking in Video Editing?
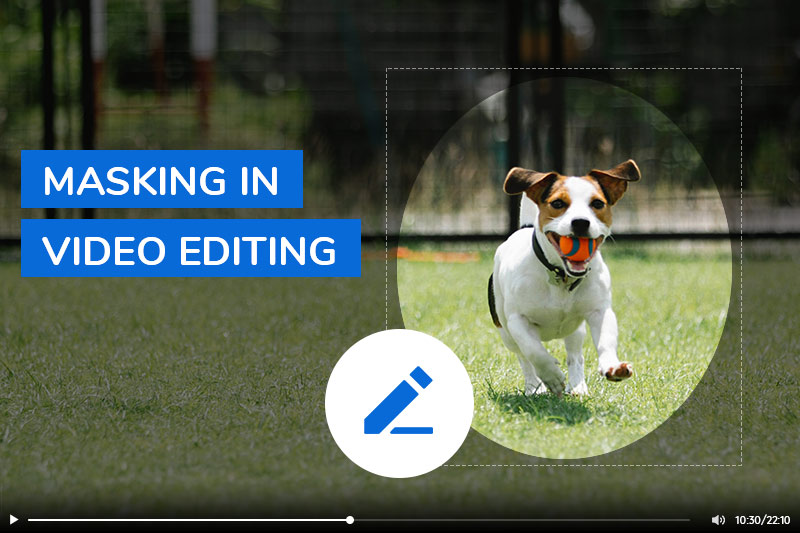
Video masking is a functionality found in video editing software. This tool enables users to trim specific content, insert or blur particular portions of the video, ultimately directing attention to a chosen focal point while concealing the rest such as faces or license places blur. Additionally, masking technology can be utilized for various creative purposes, such as cloning characters, generating glitch effects, obscuring faces or backgrounds, enhancing the video's dynamism, and making it more engaging for viewers.
Part 2: 3 Types of Masks in Video Editing
Masks serve as a means to independently manipulate various sections of a video by defining shapes or regions that either conceal or reveal specific parts. The types of masks employed in video editing depend on the intended purpose and the software being used. Some common mask varieties include:
Part 3: Different Ways to Use Masking Videos
Utilizing video masking allows for the creation of diverse effects, including the obscuring of faces, eliminating undesired elements, incorporating text or graphics, and crafting smooth transitions. Moreover, video masking contributes to elevating the realism and quality of videos by seamlessly blending different clips or layers and adjusting parameters like color, brightness, or contrast.
Transition Creation: Masks can be employed to craft personalized transitions between video clips, such as wipes, slides, or fades. For instance, a mask can be utilized to make one clip emerge from behind another or facilitate a smooth dissolve between two clips.
Subject Cloning: Masks offer the ability to clone or replicate subjects within a video, be it people, animals, or cars. This involves creating the illusion of multiple identical subjects in a scene or making it appear as though a subject is interacting with its own duplicates.

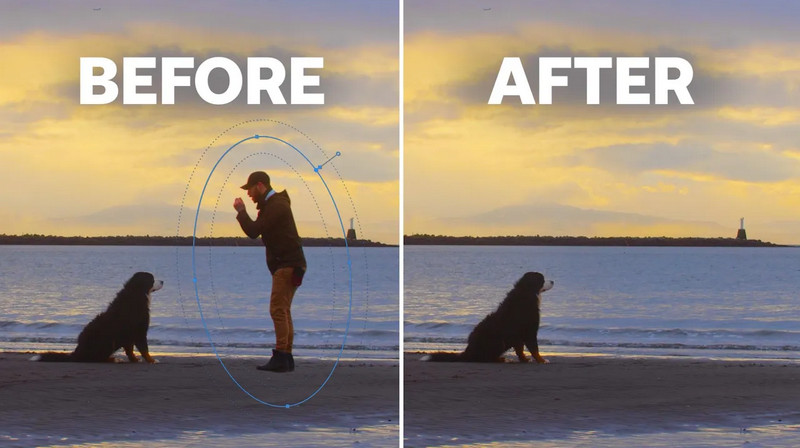
Object Concealment: Video masking proves useful in concealing or removing unwanted objects like logos, watermarks, or individuals. This can be achieved by covering an object with another image or video using a mask, rendering it transparent, or applying a blur effect.
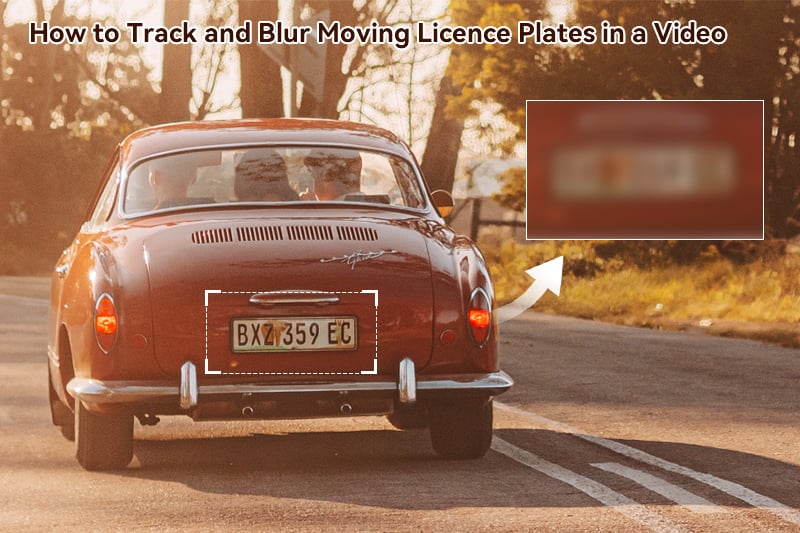
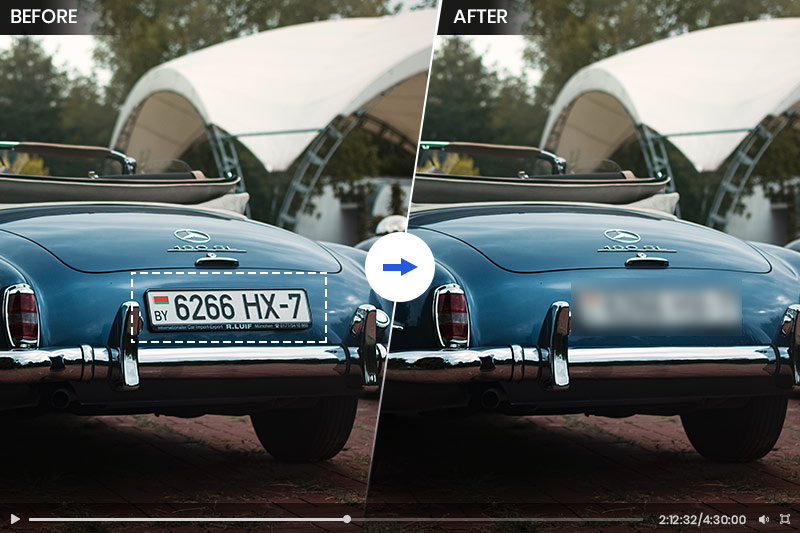
Facial Blurring: Masks can be applied to blur faces or sensitive information in a video, such as license plates, phone numbers, or addresses. Techniques include applying a blur effect, pixelating, or distorting the specific face or area.
Effect Addition: Video masking serves as a tool to introduce various effects or enhancements to a video, such as text, graphics, filters, or animations. Examples include using a mask to incorporate a title or logo, or applying specific color tones or styles to distinct parts of the video.
Part 4: Top 5 Video Editor Software with Useful Masking Tool
1. Adobe Premiere Pro
Adobe Premiere Pro is a highly advanced video editing software that offers unrivaled precision and flexibility in video masking. Within Premiere Pro, users can access two primary masking tools: "Shape" and "Pen." Opting for the "Shape" tool allows you to pick from preset shapes like squares or circles to create masks, while choosing the "Pen" tool grants you the freedom to draw a custom path around the specific object you aim to isolate through masking.
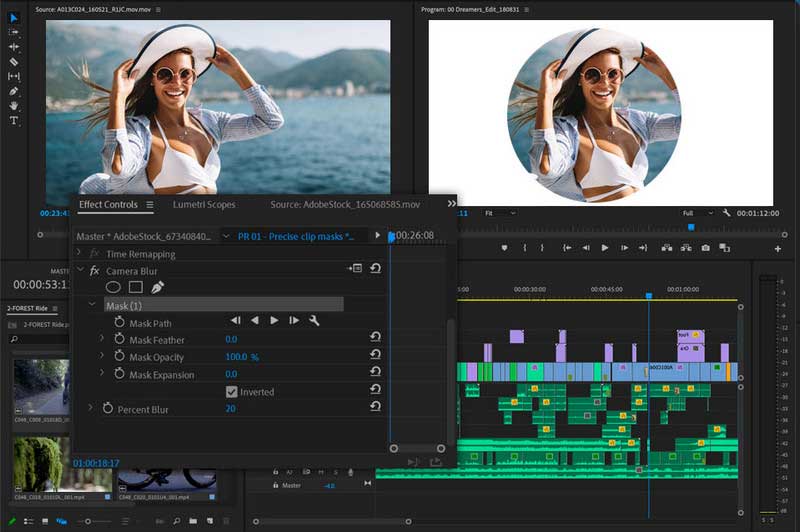
Steps to Masking in Adobe Premiere Pro
Using Shape Tools:
Step 1: Choose the desired Shape tool from the Tools panel.
Step 2: Draw a shape directly on the video clip in the Timeline to generate a mask.
Using Pen Tools:
Step 1: Click on the Pen tool icon located in the Tools panel.
Step 2: Drag the cursor to outline the object you want to isolate.
Step 3: After outlining the path, click the Mask button in the Tools panel to apply the mask.
2. Final Cut Pro X
Final Cut Pro X is a professional video editing software for Mac that offers a variety of mask shapes and colors. The software enables users to generate transparent sections within an image by utilizing drawn shapes to mask specific areas. When combined with mask colors, this functionality also extends to regulating color correction in those designated areas. Moreover, Final Cut Pro X incorporates advanced features like control point technology and spline drawing technology. These features empower users to craft custom masks for isolating either the foreground or background of a video.
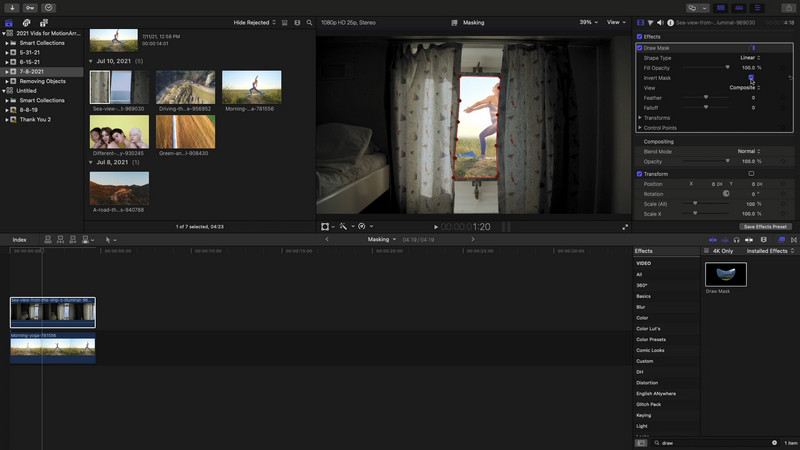
Steps to Masking in Final Cut Pro X
Step 1: Opt for the Shape Mask effect from the Effects Browser.
Step 2: Drag and drop the effect onto the desired clip on the timeline.
Step 3: Adjust the shape mask as needed using on-screen controls.
3. CyberLink PowerDirector
CyberLink PowerDirector is a powerful video editing software known for its comprehensive feature suite. Its recent improvements in the masking tool allow users to apply intricate masks to videos, granting them meticulous control over various editing aspects. Within CyberLink PowerDirector, users have access to diverse masking techniques, encompassing basic shapes and freehand drawing, as well as advanced controls for crafting custom masks. These masks serve a multitude of purposes, ranging from blurring faces and eliminating unwanted objects to seamlessly incorporating visual effects into the video.
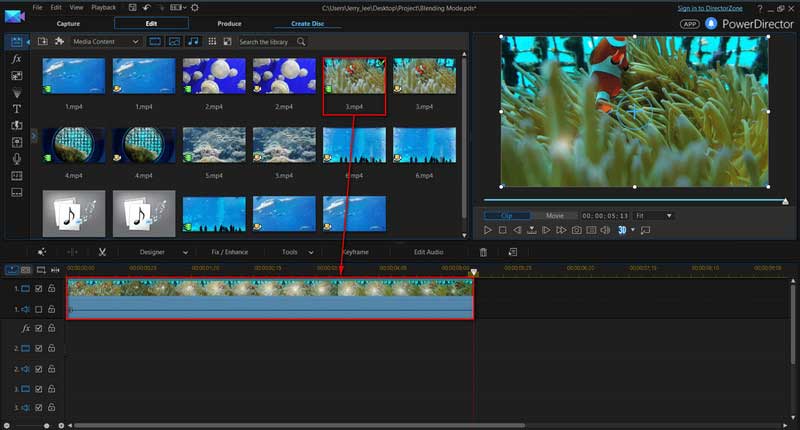
Steps to Masking in CyberLink PowerDirector
Step 1: Drag and drop the video into a track of the timeline.
Step 2: Go to the Quick Settings menu (press the Menu button at the bottom of the screen) and select Mask Designer from the drop-down menu.
Step 3: Choose from a variety of templates in the Mask Designer, then adjust their size and position. When finished, click the Save icon.
4. Sony Vegas Pro
Sony Vegas Pro, a Windows-based professional video editing software, boasts advanced VST3 plugins and robust masking tools. Employ Bezier, Anchor, and B-Spline masks for creating seamless and accurate masking effects. Elevate your masks with features like chroma keying, motion tracking, and additional effects. While the editor's interface may initially appear complex for beginners, once you become acquainted with it, you'll be amazed at the creative possibilities that Vegas Pro can unlock for your video editing endeavors.
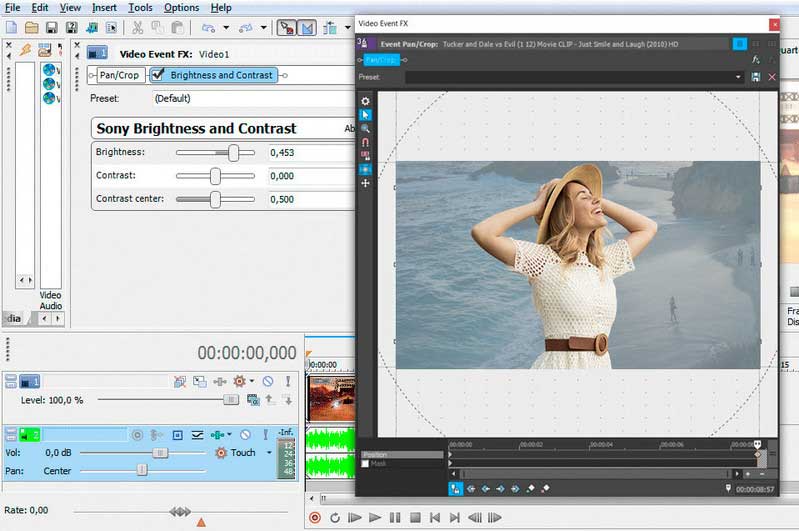
Steps to Masking in Sony Vegas Pro
Step 1: Import your video clip and the object you want to mask into the timeline.
Step 2: Click on the Event FX button and select Mask Generator from the drop-down menu.
Step 3: Enable masking and select the anchor creation tool.
Step 4: Trace around the object or area you want to mask and close the mask path.
Step 5: Adjust the mask settings and refine the mask points.
Step 5: Move the keyframe and readjust the mask to animate it.
5. DaVinci Resolve
DaVinci Resolve is a video editing software for Windows, Mac, and Linux that offers auto object tracking and advanced masking tools. The Mask functionality within the program allows users to execute diverse operations, such as adjusting layer spacing, revealing text from behind objects, creating focus movement, and applying 2D effects. Moreover, these masking capabilities seamlessly integrate with various editing functions within the software, including color correction, motion graphics, and more.
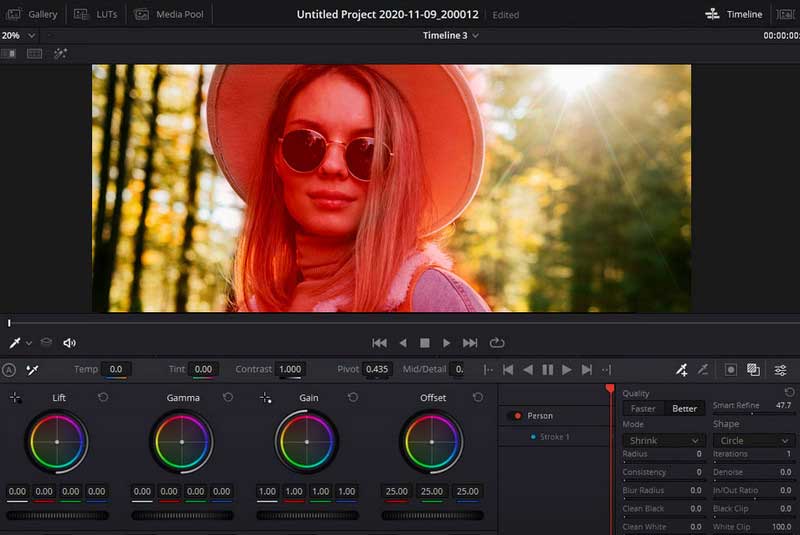
Steps to Masking in DaVinci Resolve
Step 1: Go to the main menu and select File > Import > Media, then select your file.
Step 2: Choose mask type and shape.
Step 3: Click and drag around the object you want to mask in the footage. Adjust the anchor points to get the perfect shape.
Bonus Pick: Facial Blurring in Video with AI - AVCLabs Video Blur AI
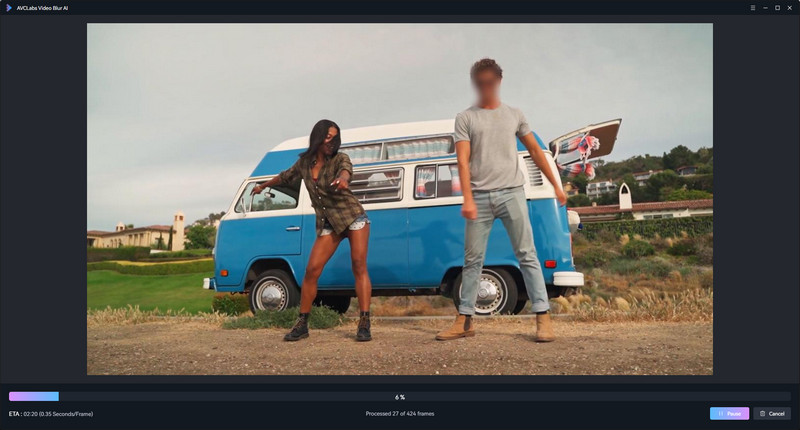
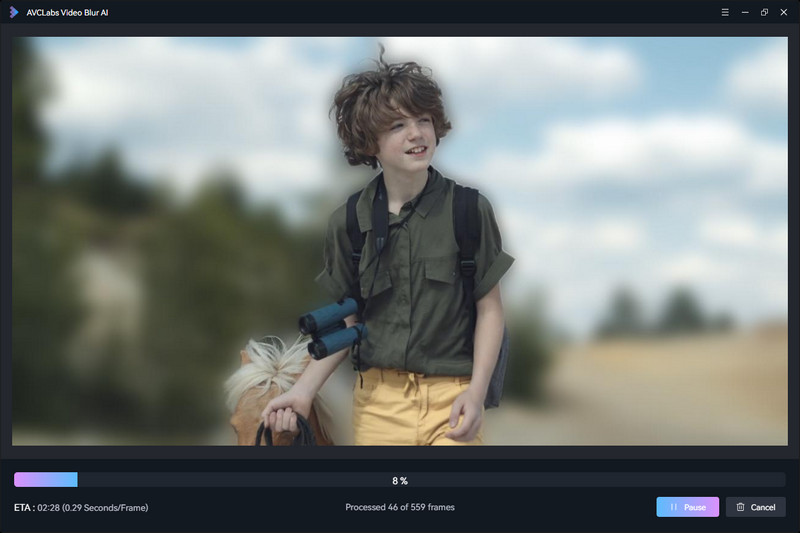
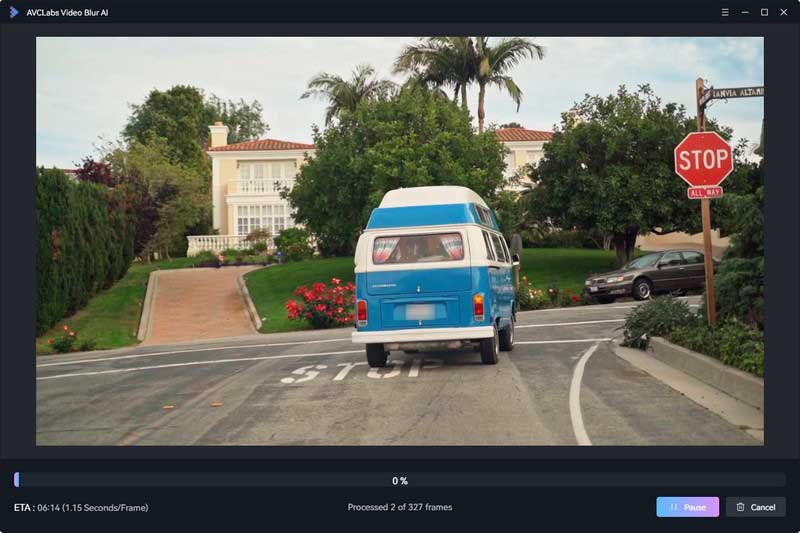
While traditional masking tools provide precise control. But for face blurring and license plate masking, you have faster and more automated solutions. This is where AI-powered video blurring software comes in. AVCLabs Video Blur AI uses cutting-edge artificial intelligence to automatically detect and blur faces, license plates, objects, backgrounds, and more in videos. This can save a lot of time, especially for videos with multiple moving faces or complex backgrounds.
Key Features of AVCLabs Video Blur AI
- Seamlessly blur specific areas of video, keeping the focus on what matters most
- Blur the detected faces selectively for a single face or multiple faces in a video
- Automatically detect and track license plate in videos
- AI-automated solutions for face, background, object and license plates blurring
Conclusion:
In conclusion, masking is a technique that allows you to control the visibility of different parts of your video, such as blurring, hiding, or revealing parts of a video. Masking can also enhance the realism and quality of your video, by blending different clips or layers together, or by adjusting the color, brightness, or contrast of your video. There are different types of masks that you can use for video editing, such as rotoscoping, chroma-keying, and motion tracking. You can also use masks to create transitions, hide objects, clone subjects, blur faces, and add effects.
In this article, we have introduced you to the top 5 video editor software with useful masking tool that you can try in 2025. We have also given you a bonus pick on the best AI tool for facial blurring in video, which is AVCLabs Video Blur AI. We hope that this article has helped you learn more about masking in video editing and how to use it in different video editing software.

