How to Make Your Macro Photos Sharper: 3 Easy Ways To Improve Macro Photos Quality
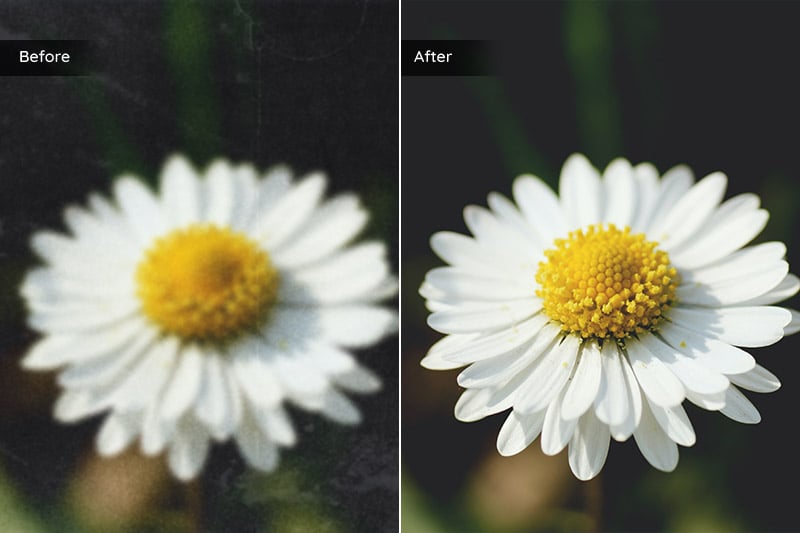
Macro photography involves taking photos of very small subjects and details. This is challenging not only because you have to get really close to your subject, but also because even the smallest details tend to look blurry in macro images. This is mainly due to the fact that macro photography requires a fairly high level of magnification when shooting your subject. In this blog post, we will explain how you can improve the image quality of your macro photos.
Part 1: What Is Macro Photography?
Macro photography is a type of photography that involves taking photos of very small subjects, such as tiny insects and microscopic details. Macro photography uses a large-aperture lens and a short focus distance in order to achieve an extreme level of magnification when shooting your subject.
Macro photography is a great way to capture beautiful images of tiny details and textures that you would normally not be able to see with the naked eye. When taking macro photos, it’s important to keep the camera as steady as possible to prevent motion blur and camera shake from ruining your images. This is particularly important for photographing insects, which can easily fly away if startled by the sound of the camera shutter.
Part 2: Why Are Macro Photos Often Blurry?
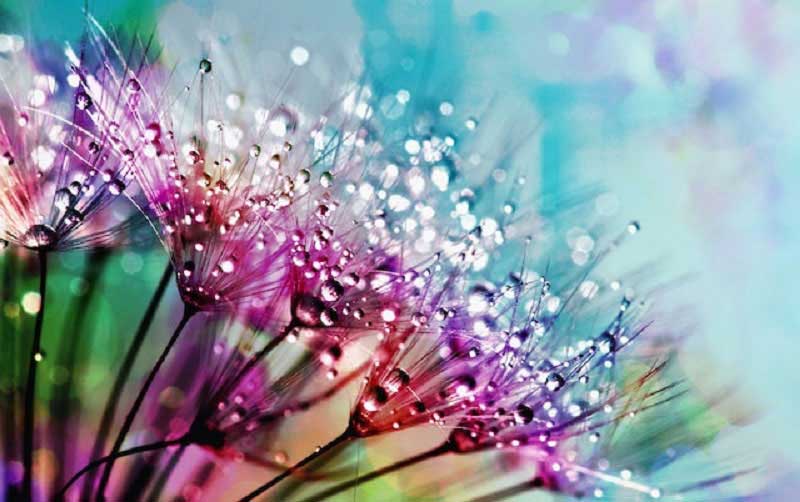
Macro photography requires a very short focus distance, while also having a large aperture. This means that you have to get really close to your subject, which results in a shallow depth of field, or a very small area of focus.
In other words, only a tiny portion of your image will be in focus. This can be challenging not only because you have to get really close to your subject, but also because even the smallest details tend to look blurry in macro images.
This is mainly due to the fact that a significant portion of your image will be out of focus. Macro photography is all about bringing tiny subjects up close, and since this magnification increases the depth of field and blurs the background, it’s even more challenging to keep your image sharp compared to regular photography.
Part 3: How to Fix Blurry Macro Photography in Photoshop?
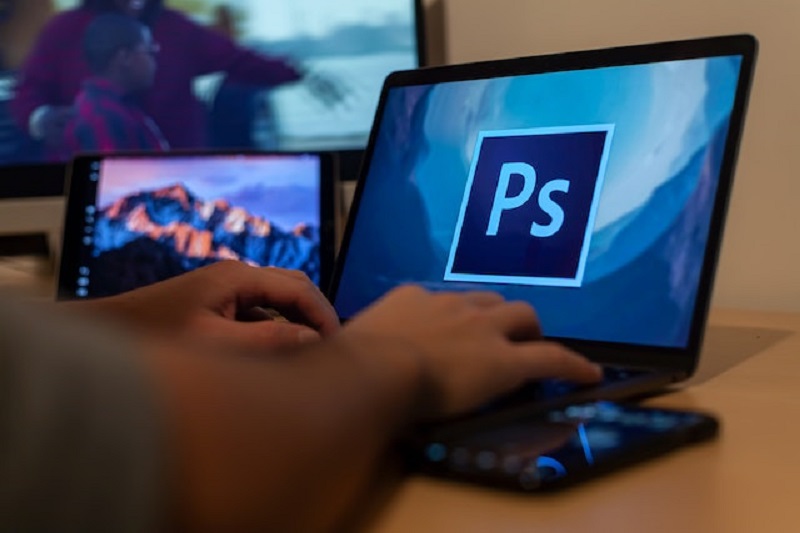
Open your photo in Photoshop -> Select "Filter" -> "Blur" -> "Smart Blur".
This will open the Smart Blur dialog box.
In the Radius field, select "0.5px". - Click "OK" to apply the filter and sharpen your photo. - Select "Filter" -> "Sharpen" -> "Unsharp Mask".
This will open the Unsharp Mask dialog box.
In the Amount field, select "100%". - Click "OK" to apply the filter and sharpen your photo.
Part 4: How to Fix Blurry Macro Photography in Adobe Camera RAW?
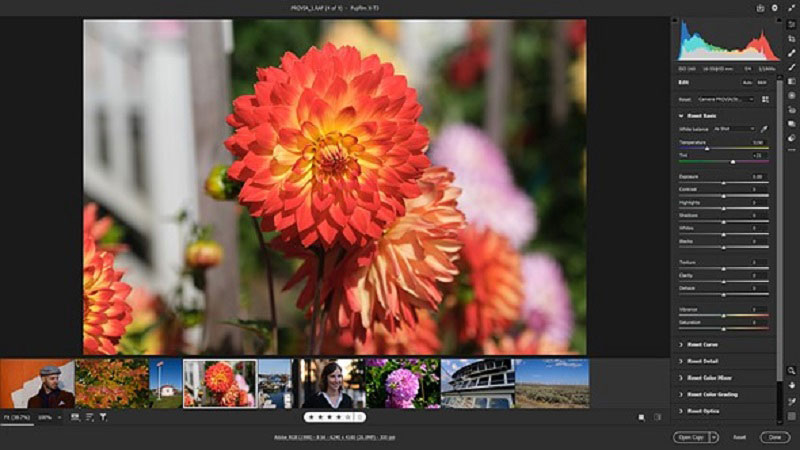
Open your photo in ACR. - Select "Detail" -> "Noise Reduction" -> "Analyze".
This will open the noise reduction dialog box.
In the "Amount" field, select "100%". - Select "OK" to apply the filter and sharpen your photo. - Select "Detail" -> "Sharpen" -> "Unsharp Mask".
This will open the Unsharp Mask dialog box.
In the Amount field, select "100%". - Click "OK" to apply the filter and sharpen your photo.
Part 5: How to Fix Blurry Macro Photography in AVCLabs Photo Enhancer AI? (The Easiest and Most Efficient)
If you're looking for an easier and more efficient way to improve the quality of your blurry macro photos, AVCLabs Photo Enhancer AI is definitely worth considering. With just one click, you can batch process your photos and get great results without any editing skills or photography experience. Plus, it's available for both Windows and macOS. Definitely give AVCLabs Photo Enhancer AI a try if you're looking for an easy way to improve your blurry macro photos!

AVCLabs Photo Enhancer AI
Immediately sharpen the blurry photography
Upscale the image resolution by 400% and improve details
Make the low-quality photos to high-definition
Make the portraits and selfies look beautified
Quickly colorize the old black&white images
Remove the background from images with one-touch
Steps to Sharpen Blurry Macro Photos with AVCLabs Photo Enhancer AI:
Download and install.
Download and install AVCLabs Photo Enhancer AI on your computer. This program has some system and hardware requirements for the computer. Click here to check for detailed information.
Import blurry macro photos.
Launch the program and get into the main interface of the program. Then just click on the "Browse" button to import or drop photos to upload.

Choose the AI Feature and Image Size.
There are 5 built-in AI Features in AVCLabs Photo Enhancer AI: AI Upscaler, AI Denoiser, AI Color Calibration, AI BG Removal or AI Colorizer to meet users’ different demands. To make your macro photos sharper, you can choose the AI Upscaler.
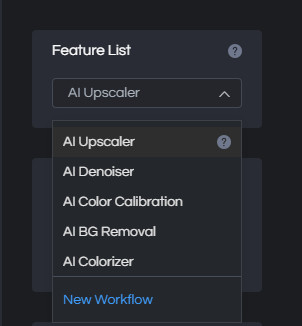
The "Image Size" option offers 100%, 200%, 300%, and 400% for you to choose.

Preview the effect.
You can check the effects of the enhanced photo before saving them to your computer. Choose a photo by clicking the snapshot at the bottom of the main interface. Then click on the eye icon in the upper right corner and the program will begin processing. When it finishes, you can drag the white line to see the contrast.
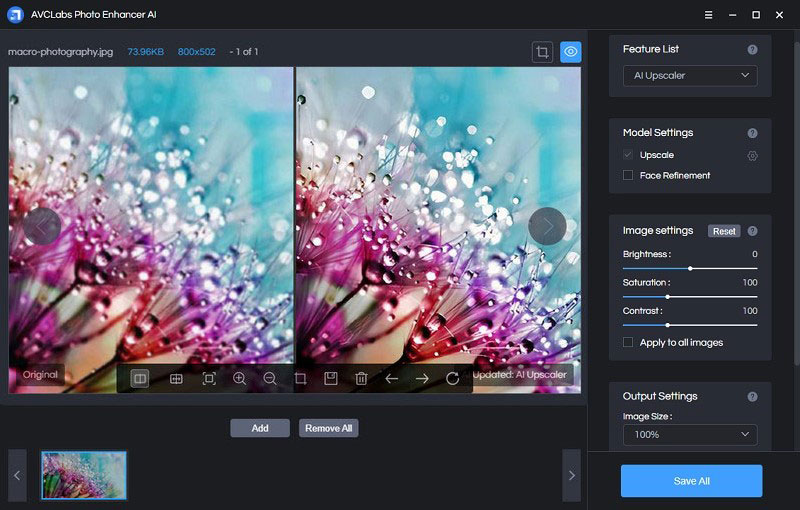
Save the enhanced photo to PC.
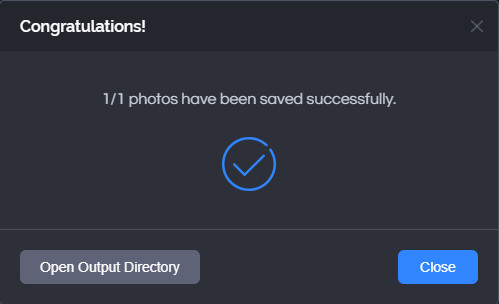
After checking the effects, you can click on the “Save All” button to get the enhanced macro photography on your PC.
Conclusion
As you can see, macro photography is challenging due to the fact that it requires a very short focus distance, while also having a large aperture. This means that you have to get really close to your subject, and that results in a shallow depth of field, or a very small area of focus.
There is only one way to make your macro photos sharper, and that is using a photo editor. Depending on the software that you are using, there are different ways to sharpen your macro photos. Simply put, you need to pick the right program that fits your needs. Comparing these three software, there is no doubt that AVCLabs Photo Enhancer AI is easier to operate. So if you want to sharpen blurry macro photography efficiently and quickly, give it a try!


