How to Use AVCLabs Photo Enhancer AI
How to register AVCLabs Photo Enhancer AI
Install and launch the program.
Download and run the setup file of AVCLabs Photo Enhancer AI. After installation, you can click on Start Now to launch AVCLabs Photo Enhancer AI immediately.
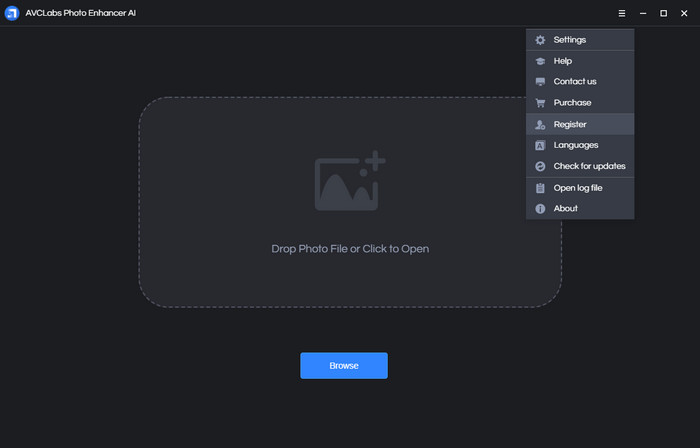
Open the register box.
You can click on the menu button  at the right-top corner and choose Register to open the register box.
Input your registration code.
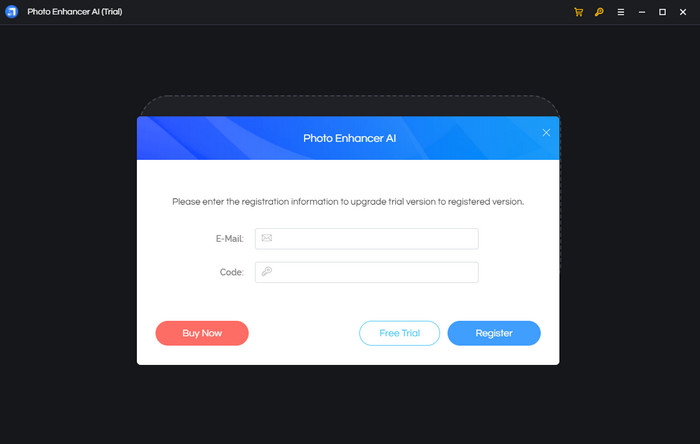
Input your registration information in the popup window. We recommend copying and pasting the register email and code into the registration dialog.
Note: The registration contents are case-sensitive. Please do not add a blank at the beginning or the end of the word.
How to enhance photos using AVCLabs Photo Enhancer AI
Follow these steps to enhance your photo quality by AVCLabs Photo Enhancer AI:
Open AVCLabs Photo Enhancer AI.
When finishing installation, you can launch the program, and you will see the main window of AVCLabs Photo Enhancer AI as the screenshot shown below.

Add source file.
There are 2 ways to add the source photos to the program.
You can click the Browse button to import the image files in batch or drag and drop the source file to the program directly.
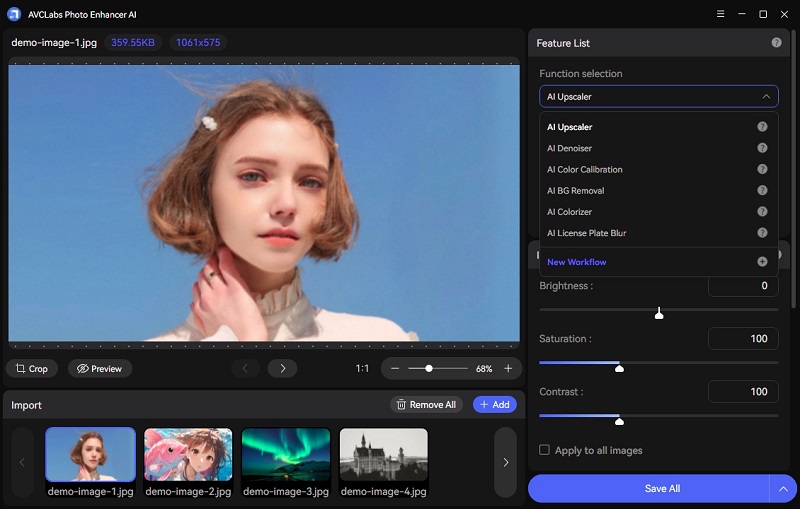
Choose the AI feature and preview the effect.
On the right panel of AVCLabs Photo Enhancer AI, you can select the AI feature as AI Upscaler, AI Denoiser, AI Color Calibration, AI BG Removal, AI Colorizer or Creat Workflow. Let's check these AI Features' functions and effects.
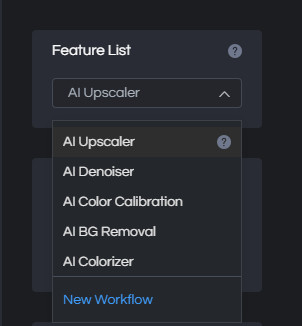
AI Upscaler
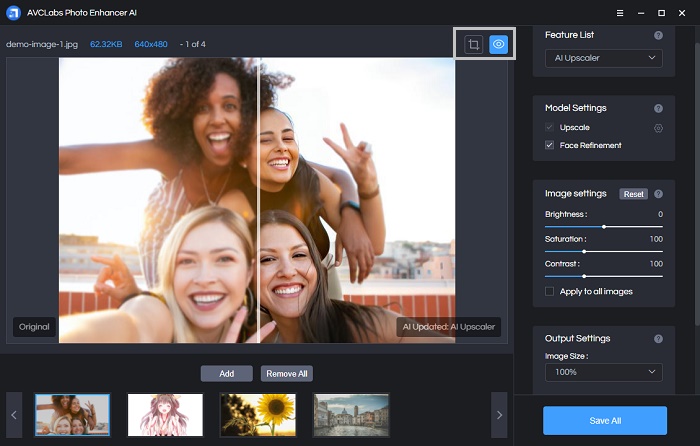
The Upscale model is used to improve the photos' quality. It can turn your low-res photos into ultra-high definition while recovering real detail to get the best quality.
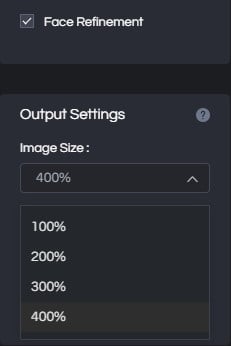
In this model, you can choose to upscale the photo as 200%, 300%, 400%, or keep the original size as 100% by selecting different scale factors. And the 400% is set by default, as the effect is the best. But please note that the higher the scale factor, the higher configuration required and more processing time.
For the portrait photos, you can switch on Face Refinement to detect and enhance every detail to make your subject look great.
After the settings are done, you can click on the little square icon to crop a photo or click on the eye icon in the upper right corner of the main interface to preview the effect of AI Upscaler before saving the photos.
AI Denoiser
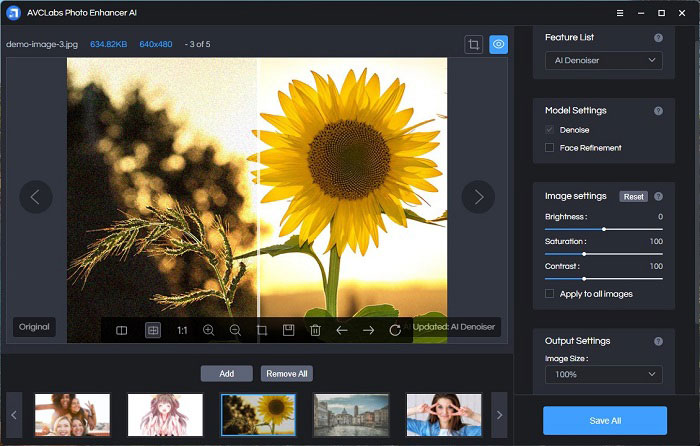
If the photo is grainy or noisy, then you can select the Denoise model to make the photo looks sharper and clearer.
AI Color Calibration
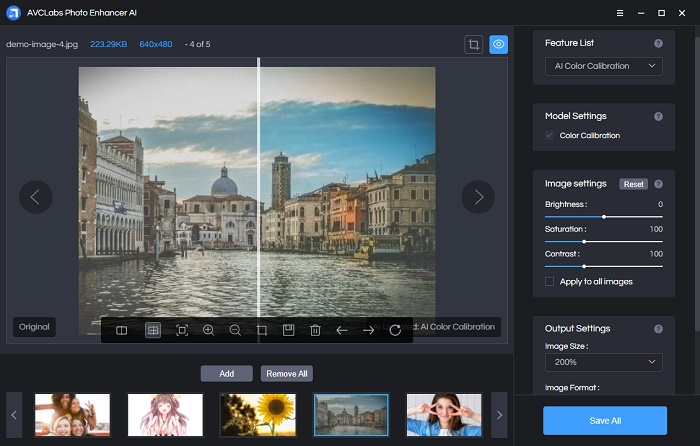
Sometimes the photo can have bad colors due to the bad environment light, high ISO, etc. The AI Color Calibration can improve color and contrast of photo with only one click. Make your photos look more beautiful.
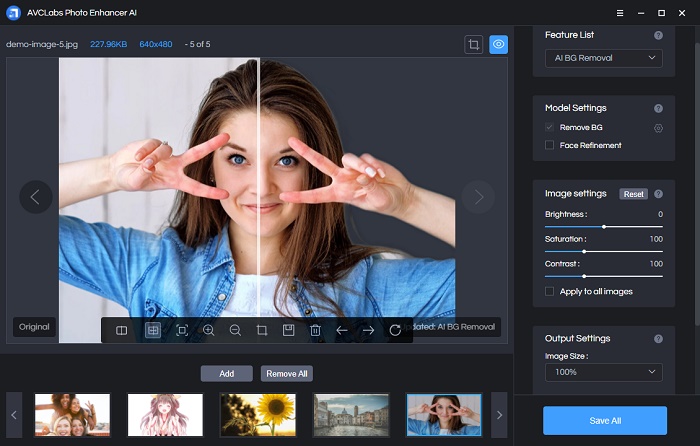
AI BG Removal
Remove BG just as its name implies, it can remove background from image accurately to create a transparent background.
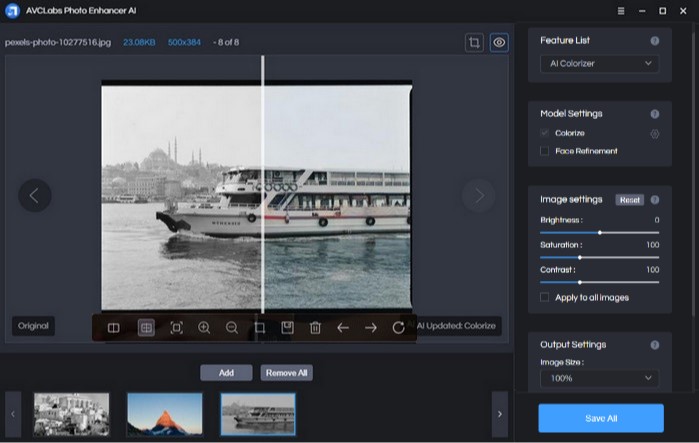
AI Colorizer
You can choose Colorize model to convert the black and white photos to color and add natural and real color to them. You can also adjust the Render Factor to change the colorizing effect till you find the most suitable color.
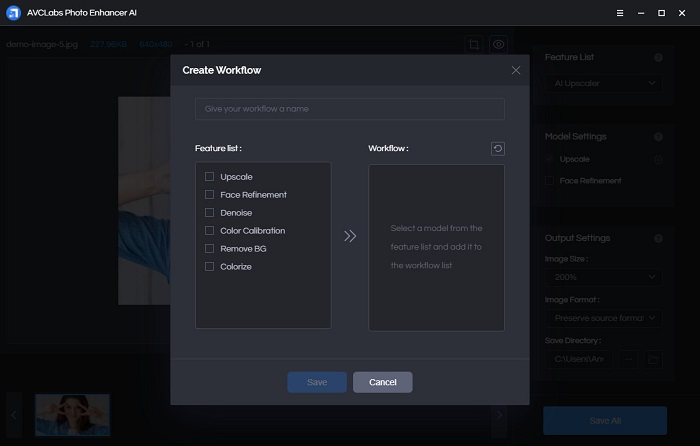
Creat Workflow
If you want to choose two or more features for your photo at the same time, you can create and name a new workflow to customize your photo.
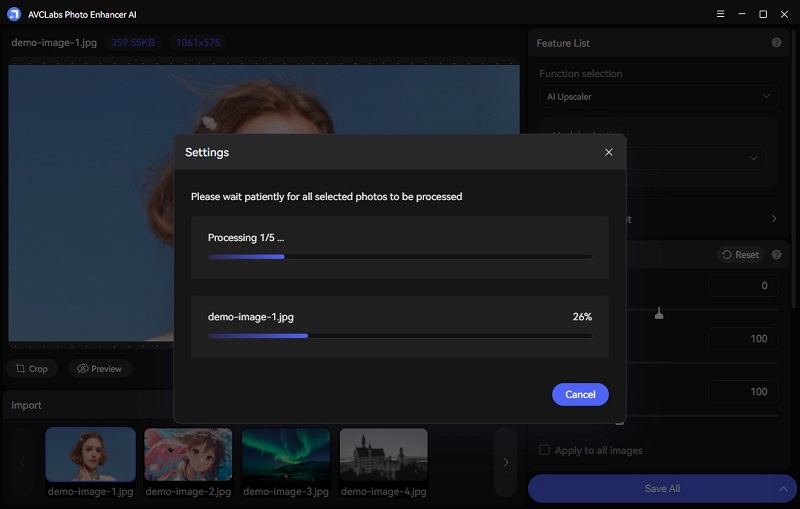
Save the photos.
If you are satisfied with the effects, you can click the Save All button to save the photos in batch. With AI technology, AVCLabs Photo Enhancer AI is capable of enhancing photos automatically. If your computer has NVIDIA Graphics cards, the process will be very fast.
When it is finished, you can open the file folder and enjoy the enhanced photos in a better view. Please note that the free trial version will saved the photos with a watermark.
Photo Enhancer AI
Automatically enhance photo color, contrast, and quality
Make the low-res, blurred, or low-quality photos to high-definition and clarity
Colorize black and white photos in one click.
Enlarge/up-scale the photo size without losing quality.
Remove the background of the photo automatically.


